
I'm in love with burlap. I could find a use for it everywhere, every season, I love it. Its cheap, versatile, adds a bit of texture, and looks great under silver or under a picnic basket. I love it. (Did I say that already?) I also love monogrammed pillows, especially made with - you guessed it - burlap.

I see these in magazines and in other people's homes, and I always think, "I could do that!" But I never have. So it is high time I used some of my left over fabric to make some of these coveted monogrammed pillows.
Now I want some for the girls room. One on each of their beds with their initials on them. All my ingredients were free (found around the house). Here's what I needed:
- Small pillows - I had two that didn't match anywhere, perfect to recover!
- Burlap - I have plenty around from previous projects
- Complementary fabric - for the back side I used some left over blue & white ticking for one & a matching dishtowel for the other.
- Stencil - I printed out a big "A" and "Z" from Word and cut them out. I thought I'd use black paint, but we had some transfer paper left over from a T-shirt project. The transfer worked great & took a lot less time & energy than stenciling!
 |
| Left over fabric - burlap, ticking & even a dishtowel. |
I didn't take any pictures of the sewing steps, but I figure that is pretty self explanatory. (Just follow your basic square pillow directions: Iron your fabric, cut it to size, put the face of the fabrics together (wrong sides out). Sew three sides, turn it right-side out. BUT before inserting the pillow and sewing the last side closed, STOP for stenciling monograms!
 |
| Transfer paper & an iron worked great for the stenciled monograms. |
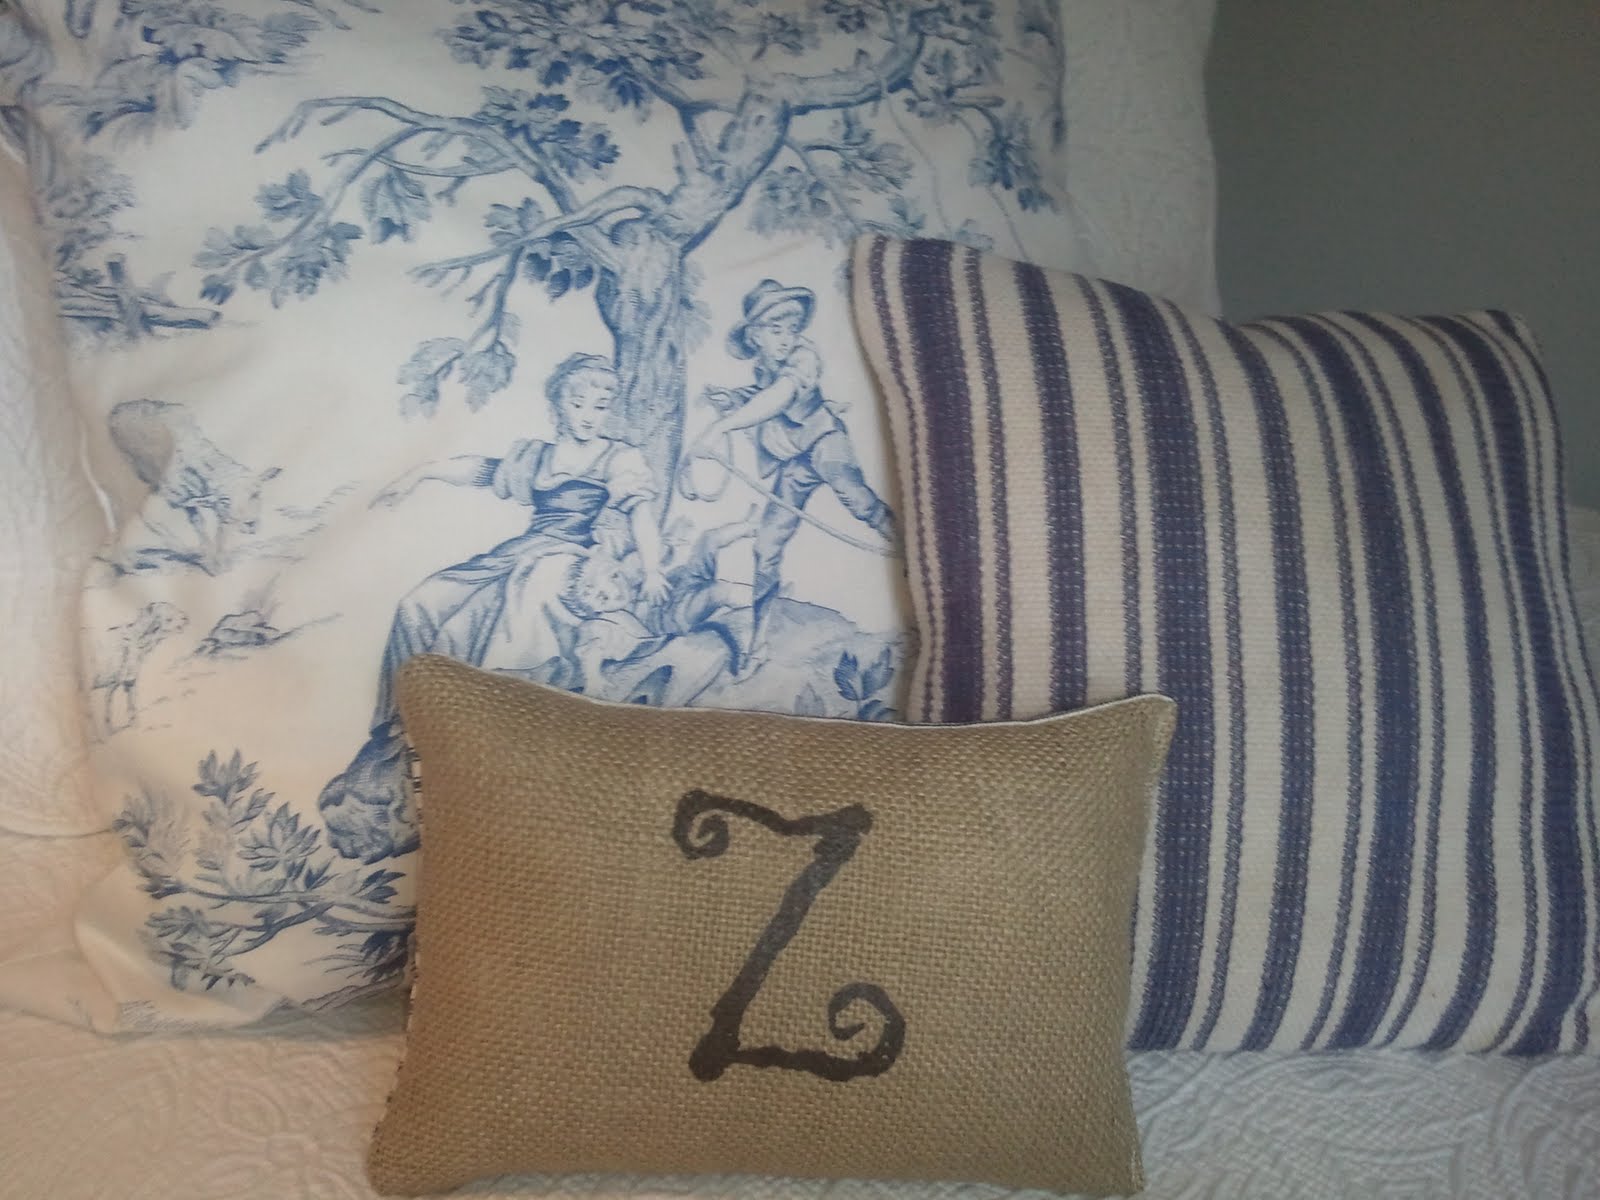
I printed the mirror image of the letters on the transfer paper, cut them out, and ironed them onto the burlap. After they cooled, I carefully peeled off the backing, and touched up as needed with my iron. I finished by inserting the pillow and sewing up the fourth side. I also added a button on the larger pillow's fourth side. Here they are!
 |
| Burlap Monogrammed pillows - front side (with another DIY'ed white pillow) |
 |
| Opposite sides of the pillows - blue & white ticking stripes (and the other pillow in toile) |
I love the combinations these can make on the girls' beds!


 I'm in love with burlap. I could find a use for it everywhere, every season, I love it. Its cheap, versatile, adds a bit of texture, and looks great under silver or under a picnic basket. I love it. (Did I say that already?) I also love monogrammed pillows, especially made with - you guessed it - burlap.
  I see these in magazines and in other people's homes, and I always think, "I could do that!" But I never have. So it is high time I used some of my left over fabric to make some of these coveted monogrammed pillows.


No comments:
Post a Comment