Monday, March 19, 2012

Easter Decor

With Easter only weeks away, I thought I'd post some fun ideas this week for entertaining on Easter.  Today I'll show you some decorating ideas.

Last year we hosted Easter dinner and an Easter Egg Hunt at our home.  What started out as small quiet idea blew up into 45 people!  I. was. in. heaven.  I love entertaining and always dreamed of having a big enough house to do things like this.  Wish granted.  

To prepare, I started weeks ahead of time, gathering ideas and supplies. I did a daffodil inspired theme using green & yellow, lots of nice china & silver, and my old friend - moss.  The centerpieces are always where I like to start - they are the focal point of the whole meal.  So I gathered mini daffodils, silver platters, piles of gathered moss, and some specially died eggs (that I'll show you how to make later).  Here are the final results:
Easter Centerpiece - close up (notice the coffee table in the background has a similar arrangement).


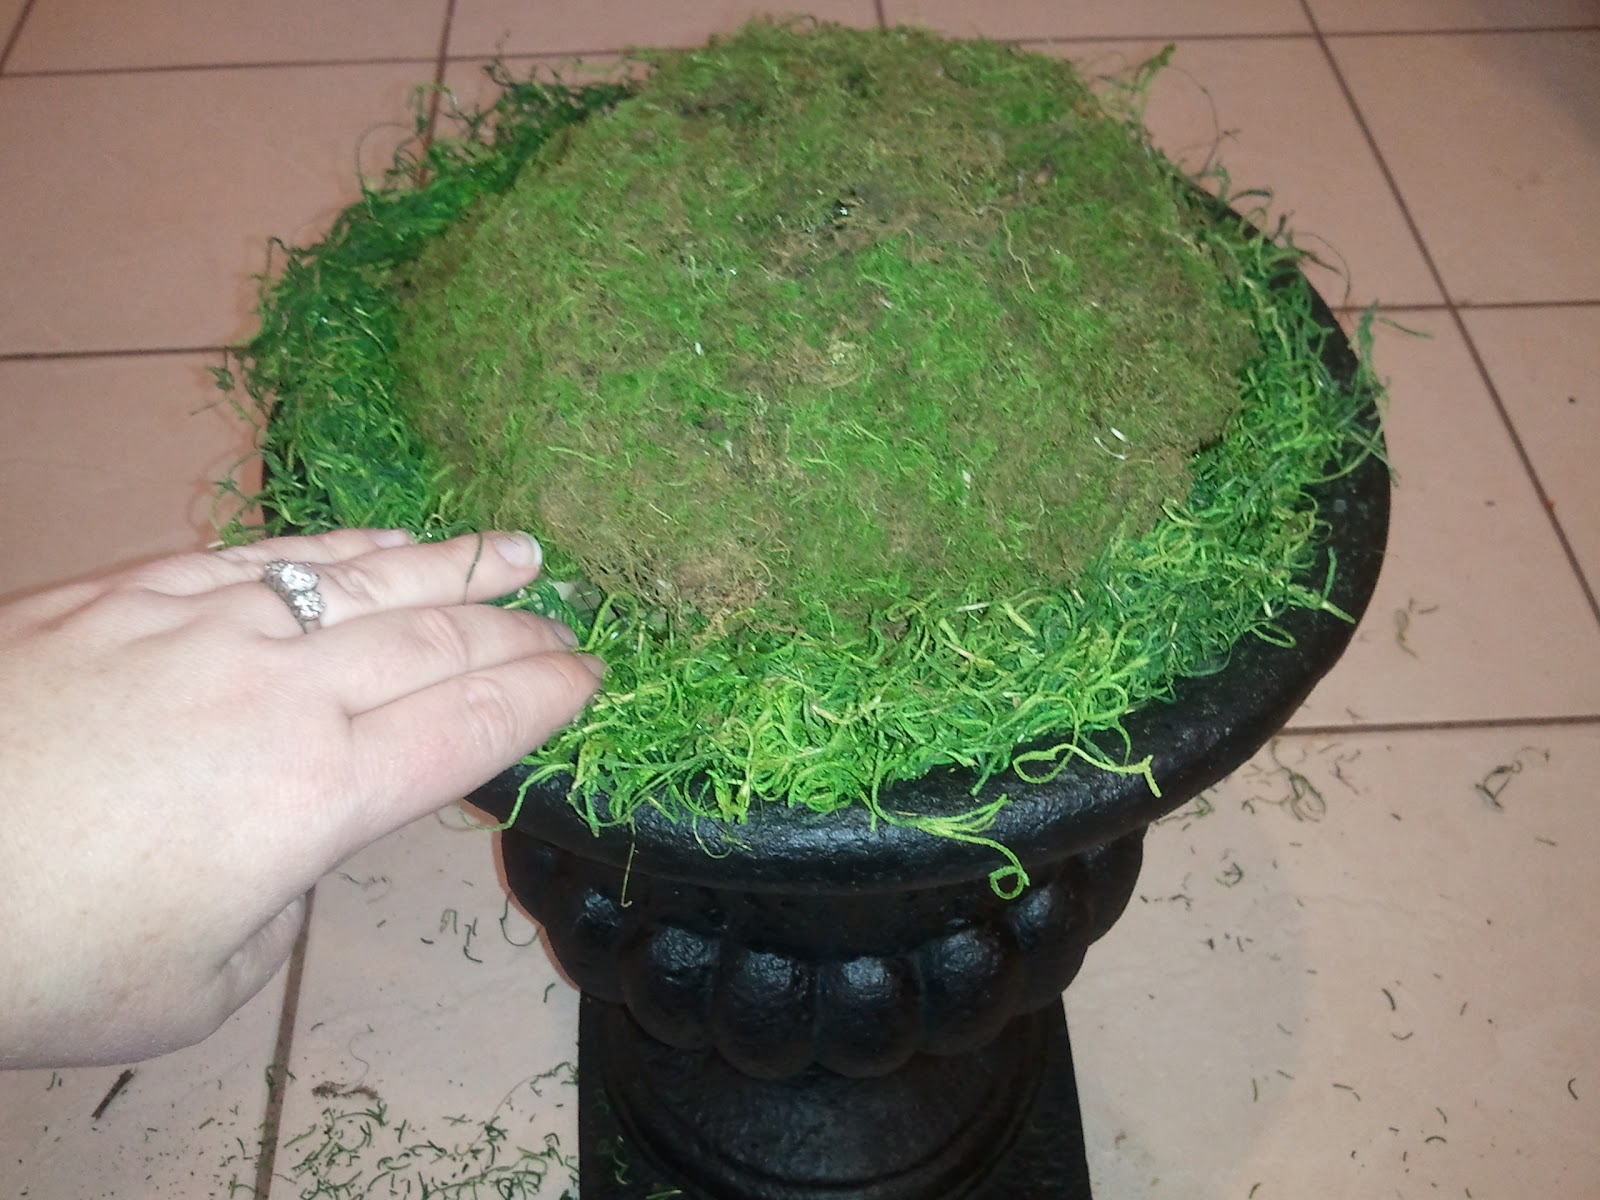
I wanted the centerpieces to look like little grassy, mossy knolls with daffodils growing, and eggs nestled around them.  I used all sorts of things (paper bowls & cups, wadded up paper) to build up the mound around the pots of daffodils.  Then the morning before Easter, I went to my previously scouted spots and gathered all sorts of cool and different kinds of moss.  I carefully cut and shaped the mosses around their new landscapes - and voila!  Here's some good shots of the different mosses:


 With the extra moss, flowers and eggs, I decorated the rest of the house.  Here's a few shots of random decor here and there:


The Easter Egg cards were from some extra inventory I still had from my stationery line ages ago, back when Stardust Designs was Stardust Stationery.  Stay tuned for a tutorial on the dyed eggs, the flower baskets and more pics from that beautiful Easter Day.

Friday, March 16, 2012

Touches O' Green

I promised to show some of the touches of green that are around the house in honor of Spring and St. Patrick's Day too.  As I've admitted before, I am a true Northwest girl and I love me some moss.  This is a great option in early Spring before the flowers are out in full force.

This week, I've been showing small pieces of our front porch.  So here it is put altogether.  The Spring Wreath and the Mossy Urns only cost me about $10 total.  The rest I already had, including the old Christmas bows that I stuck in the big urn (they're a place holder until I can plant some flowers).  Its pretty simple and green - but that suits me fine for early Spring.  Plus, it didn't cost much so I can use the money I saved for flowers next month. 


Here's a better "during" picture (the colors are truer in this pic)...


Now, going inside I have a few touches o' green in the living room and dining room... 
I bought [fake] moss balls at the Dollar Store.  They come in a bag of maybe 7-10 and are usually near the vases.  Its hit-or-miss when they're in stock, so you have to keep an eye out for them!

On the dining table I have an old set of china displayed (pictured above) that my mom got for me ages ago.  Then last year while antiquing, I found some matching pieces on their dollar shelves.  What a deal!  I love bringing it out every Spring.

Here are a few more pics from around the house...


And in the kitchen...  I try to always keep the sink area pretty, since I'm staring at it so much!  The urn hides all the ugly unsightly sink stuff (sponge, scrub brush, SOS pad, drain plug, etc).  Its easy to reach and helps the sink look tidier when people are over.

So, there you have it.  A wee bit o' green before St Patty's Day. Anybody making green mashed potatoes or maybe something authentically Irish?  This year, I'm making homemade Pea Soup w/ ham.  Happy St Patrick's Day!


Thursday, March 15, 2012

Moss Filled Urns

 
Remember these two freshly spray painted urns from last week's post?  Well, I'm finally showing you how I topped them off with some moss.  Its a perfect solution for March - a bit of green for the porch - while I wait for warmer flower weather.  And it only cost me about $4.

The supplies you'll need for this project are:
  • An outdoor container - urns or pots, etc.
  • Moss (I used floral moss & Spanish moss - both at are Walmart for about $2 per bag)
  • Paper bag or brown craft paper 
  • Plastic bags
  • Hot glue gun and a few hot glue sticks
 That's it! The total cost for me (just the moss) was about $4-$6 dollars.


Step 1. Make a Mound. Start by filling your urns or pots with enough plastic bags to have a nice "mound" on top.  I used plastic bags (that we usually reuse for garbage) because they are water proof and won't get soggy or fall apart in the weather.

Step 2. Cover the Mound. Use brown craft paper (or a paper bag will do) to cover the plastic mound.  Why?  The moss will be glued down to this surface - and the plastic bags would melt.  Also its more natural looking than the bright white of the plastic bags, so it won't show through the moss as easily.  Other bonus: If you ever dampen your moss (to keep it green) the paper will help hold the moisture.

Step 3. Add Floral Moss.  I centered the floral moss and used my hot glue gun to secure it down.  In some spots, I added two layers of moss, for a more natural, lumpy, mossy look. Don't worry too much about any exposed edges.  The Spanish moss will cover it.

Step 4. Tuck in Spanish Moss. I used Spanish Moss around the edges to add a bit more interest and texture.  Plus it softens the edges around the urn.  I used a combination of tucking it in and hot gluing it. Make sure you cover all the brown paper around the edges.

And you're done!  Here's a little peak of the two completed moss filled urns before I put them on the porch.  A little note if you're doing more than one container: I put them side-by-side to make sure they both looked similar.  I didn't want one to be more "mounded", or dripping with moss than the other.

I'll have completed porch pictures for you tomorrow (hopefully the weather will be better).  I'll also show you a few other touches o' green that I've added around the house.  Just in time for St. Patrick's Day!

Friday, March 9, 2012

Lessons from A to Z ~ Modern Day Foot Washing

Laundry. 9 piles long, 3 piles deep, and more in the washer and dryer.
     A picture speaks a thousand words, so I’m starting this lesson with the picture above—please observe.  This. Is. A lot. Of laundry. At least, it’s a lot for me!  With four kids now (one who plays hard at recess, one who attracts all the mud from our long country driveway, one who has diaper blow outs, and one who drools chronically), I have entered a whole new realm of laundry.  Multiply that by a few days of not doing laundry, and you get the above picture.

     At first, folding this much laundry was like conducting a scientific experiment.  “How much dirty laundry can I find throughout the far corners of our house?”  But after the novelty wore off, fascination was replaced with my own pity party.  And as the piles grew, so did my pity party.

     “I did post-graduate work in seminary for this??  What a waste.”
     “I should be out there, ministering to the multitudes! Not in here muttering to piles of laundry.”   I pictured Jesus preaching the sermon on the mount.  “I want to be more like Jesus.”  Sigh.

     Then another picture came to mind.  Jesus—God incarnate, the Great I AM—washing the feet of his disciples.  Washing Peter’s feet who denied him, washing Judas’ feet who betrayed him.  And it was in NO WAY a waste of His time.

     In that simple, humble act, He demonstrated what it means to be a servant, and what it means to truly minister.  Humbling stuff. I am in no way “too good for this”.  I am in no way wasting my time or ministry.  But through serving my children, I will better understand how Christ served us, sacrificed for us, and modeled how leadership and ministry should be done.  My new prayer while folding, cleaning (or washing little feet!) is that I will be a better leader and minister “out there”, because I also served here.

“Now that I, your Lord and Teacher, have washed your feet, 
you also should wash one another’s feet.  
 I have set you an example that you should do as I have done for you.” 
~ John 13:13-15 ~

Thursday, March 8, 2012

Spring Cleaning the Front Porch

This whole week I'm sprucing up our front porch - getting it ready for Spring.  Today I'm touch-up painting my garden urns and outdoor furniture.  I do this every year or two when I start seeing the paint chip or discolor from being outside.  It only takes 1 can of spray paint for a touch-up.  I use Rustoleum in a black, textured, rod iron finish.

Here are my smaller two urns, painted and drying on the porch.

And here is one of our big urns I also painted.  Yes, those are old Christmas bows in the big one.  (Hey, they work as greenery until the weather warms up and I can plant something it there. And I'm re-using something for free!) I added an old metal topiary form in the middle, to give it a little structure and make it look less Christmas-y and more Spring-like.

While the urns were drying, I shook the mats, swept the porch, cleaned the porch light and cleared cobwebs away - leaving a nice clean canvas to work with.  Here are some of the urns arranged on the porch and ready to be filled with moss for my next porch project.  They will tie in nicely with the front door's mossy Spring Wreath I made yesterday.

We are getting some sun these days, which always makes Spring cleaning easier.  Has the Spring Cleaning Bug bitten you yet?

Tuesday, March 6, 2012

A Simple Spring Wreath


This week I'm working on sprucing up my front porch.  Its March, and spring is in the air (even if there still is a little snow on the ground).  But with this chill, I don't want to fill the porch with pots of flowers yet, only to see them freeze or fade.  I'm desperate for some green around here, so I'm looking to one of my old favorites - moss.


I wanted to make a simple spring wreath using moss, ribbon, some kind of wreath form, and as little money as possible.  But I had no wreath form or moss.  Then I found this wire wreath form (below) at the thrift store for 49 cents.  I love it when that happens.

I bought some floral moss at Walmart for $2 per bag, and only used 2 bags.  I already had a long length of white ribbon and a few sticks of hot glue.  So, for a under $5, I had all the supplies I needed.
The floral moss - or sheet moss - literally comes in sheets.  So it was easy to unfold and wrap around the wreath form.  I worked in small sections, running hot glue along portions of the wire, then covering in moss.  In just a few minutes, I was left with this:
I secured any loose pieces of moss with a dot of hot glue.  Then I used a long loop of white ribbon to hang it from the door, securing it with a thumb tack on the top of the door.  Here is the final product:

That's it.  I told you it was going to be simple.  But its lush and green and costs under 5 bucks! And I don't mind simple (especially after the holdays).  Plus I can always add to it as we come into Spring.