Wednesday, January 29, 2014

The Dining Room - Before & After Pics

Below is our Dining Room before we moved in. It was being used as a reading nook. And just beyond you can peak into our Kitchen (in all of its red-counter glory).


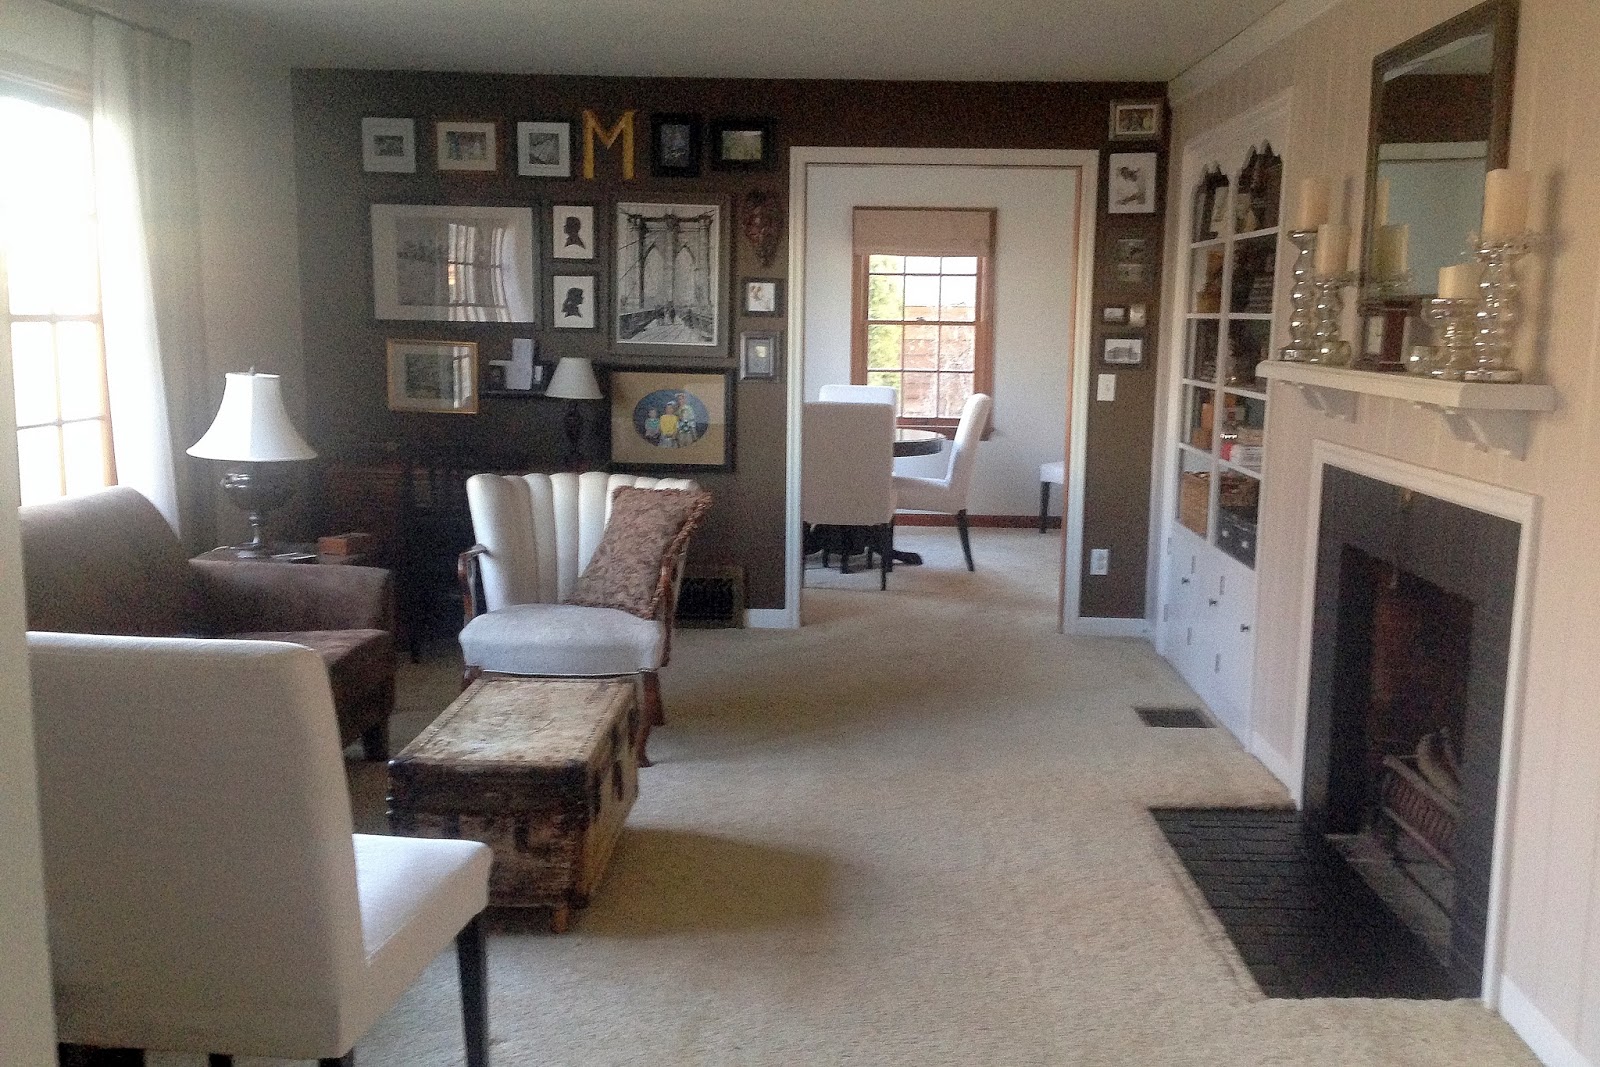
And here it is now from the same angle...


We haven't changed the bones of the room at all - same paint, same curtain and we've only hung one picture up.  But oh, the plans we have! The Dining Room just has to wait its turn. We've been working on the kitchen for now - you may notice that the peak of red is gone from the Kitchen! But more on that later.

The Dining Room is pretty small. So we sold our too-big antique dining set and buffet (seen here and in our old house tours) for $700. We used the money to buy all of these pieces and still have change left over:


Chairs: We bought 6 IKEA Henriksdal chairs (for $70/ea) with black/brown legs and white slipcovers (washable!). We love them! They are so comfortable and fairly wide, great for long dinners and conversations with friends. They are also very transitional pieces, looking great in any room as a stand-alone chair. We have one of them in our living room. 
http://m.ikea.com/us/en/catalog/products/spr/39861423/


Table: I found this smaller pedestal table on Craigslist for only $35! It has an additional leaf and can seat 4-6 comfortably, 8 if you really like each other! Originally the table had a wood top and green base, but I spray painted it black and brushed a couple good clear coats over it. The size is perfect for the room and we have a much bigger table in the kitchen for larger parties.


Antique Tiger Oak Buffet: This was my birthday present last year. I found it at a nearby antique dealer and got them down to $200. It has a rounded front and curved legs, which complements our round table. Its sturdy which is great - I needed a hard working piece since we entertain a lot. The drawers hold linens, platters & other serving dishes, silver and lots of extra candles. I'm in this thing all the time.

All in all - even calculating in the spray paint - we did this room for FREE using the money we got selling our old set. We have more ideas to come for this room, like curtains, a chandelier, paneling and a plate rail. Something like this:


Here's what's left on our TO DO list to get to this point:
  • Sell dining set
  • Find/buy better-fitting dining furniture
  • Install high paneling, topped with a plate rail
  • Find/buy curtains for windows
  • Paint paneling white
  • Paint walls above paneling a deep saturated color
  • Prime & Paint trim
  • Decorate the room and walls
  • Replace ceiling light with low-cost chandelier
Lots left to do! But we'll get there, and we'll do it on the cheap. Stay tuned.

Monday, January 27, 2014

The Boys' Room - Before/After Pictures


Here is the boys' room before we moved in (it was being used as an office):
 

On moving day it looked like this:
Beds and toy shelf fit well on the big windowed wall.
The window looks out over a large backyard and deck.

The bedroom door (center) and dresser/changing table to the right.


The clothes closet is generously sized and fits most of their clothes and toys.  The second closet (on the right) is deep enough the pack'n'play, totes of clothes that are seasonal or don't fit yet, and all the other bulky things that little ones require.

We wanted to go with a Rodeo theme (this includes a little mixture of rustic cowboys and old-timey trains).  I sewed some pennant banners - in red, blue, burlap and gingham - and hung them above the crib as a sort of mobile. (Click here to learn how I made mine.)
Rodeo Pennant Banners hang above the crib as a mobile - but high enough to be out of little hands' reach.

The crib wall -before the rodeo pennant banner and rocking chair
I bought this little rocking chair at a local antique store for $35. I added the pillow (our old Master Bedroom bedding - from Ralph Lauren). The colors work well in the space and it makes for perfect reading spot for night time stories with the boys.


Updated Afters: 

Just this month Zander turned three and got a "big boy bed" (aka a toddler bed we found on Craigslist for $35). So here are some updated pictures with TWO toddler beds. I'm sure in a year or so we will be upgrading to bunk beds. But for two little guys, this is a good set up for now:


We still have things to do in this room. Some of them are a ways out. Here's out TO DO list:
  • make/hang pennant banners
  • hang blackout curtains with tie backs
  • upgrade to toddler beds
  • upgrade to bunk beds
  • hang better art, etc on walls
  • prime & paint trim and doors
  • remove carpeting, refinish floors, add a comfy rug
  • turn second closet into reading nook or fort
  • add a barnwood wall
Here's our inspiration for the reading nook we're dreaming about. This one comes from Sarah at Thrifty Decor Chick. Wouldn't the second closet be perfect for this?
This nook is from Sarah at Thrifty Decor Chick
Lastly, I would love to do another barnwood wall like I did here. Below is another inspirational picture of Katie's barnwood wall.


Here's one last shot of the boys' room - "In Progress" for now.  Stay tuned as we continue to transform it!


Friday, January 24, 2014

Lessons from A to Z ~ A Picture Speaks a Thousand Words


A Picture Speaks a Thousand Words…

Two years after welcoming our boys into our family, this December 23rd we went to the courthouse and finally and oh SO joyfully adopted Xavier and Zander officially! I still get weepy at this blissful thought.


Such a hard-fought emotional journey this has been. In this very courtroom. At times I think I could fill a book with all that we’ve been through. 


But other times, I’ve had no words. The moments when only God could hear the groanings of my heart— or on this day, the absolute joy and thankfulness I still can’t express adequately.

Words fail me.


They say a picture is worth a thousand words. So this month I offer you our adoption pictures instead.

I hope our story will always point to  the most amazing picture of all— God the Father, who adopted us as His own, sacrificing The Most to go after the least.  (Read Luke 15 for three beautiful pictures of this!)


And what a celebration there is when even one is brought into God’s family! Luke 15:10 says,  
“In the same way, there is rejoicing in the presence of the angels over one sinner who repents.” 


 Now that is a beautiful picture.


Wednesday, January 22, 2014

Before and After - Master Bedroom

Before - Master Bedroom
Here is the Master Bedroom before we moved in. We removed the stick-on mirrors, moved the bed under the small window on the right in this picture, and made that a feature wall. I like to put beds across the room from the door, so when you walk in you see the bed as a focal point of the bedroom. We will make the window look bigger with lots of layers of curtains across that wall. This arrangement will also work best for our furniture.


After - Master Bedroom
We used our old dining room curtains to play up the window and serve as a sort of headboard for our bed. The matching bedside tables were used in the closets of our daughters' room in our last house. But they work nicely here (and match the black dresser I use now too - below).

We LOVE having more storage in our bedside tables! They store books, magazines, some seasonal wear, and all those little personal mementos and items that are hard to find a place for.
My bedside table - a little place of peace for me at night.

Chad's bedside table - every good Executive Pastor has a stack of books he's reading through!

Here is the view from the bed. I swapped out my long white dresser (which is now the girls') for this tall black one (from our former guest room and office). It fits well in the space and matches the bedside tables nicely. I'm looking forward to hanging a mirror above it and using the top as a more functional (and pretty!) vanity.

Our closet is fairly large and deep, especially for a 1930s house. Chad is able to keep all his clothes in it and I have room for my hanging clothes. And check out that bright teal inside!


Here's one more shot of our no-cost makeover, using stuff from other rooms.


So that's where this room is so far... Here is our TO DO list going forward:
  • Hang dining room curtains as a temporary solution
  • Trade out white furniture for black furniture
  • Organize closet
  • Paint room a cozy, saturated color
  • Sand, prime and paint all trim and doors a crisp white
  • Remove carpeting
  • Refinish wood floors
  • Save up to buy or make new curtains
We will keep you posted as this room develops!

Monday, January 20, 2014

Fresh Starts and Before & After Pics (Living Room)

Ah, fresh starts! With January well underway and the adoption of our sons complete (yeah!),  its the start of a new season for us. Like taking in a deep breath of fresh new air, this January feels invigorating to me!  I'm sure I will blog about deeper things soon and even a little about our foster-adoption (after I process it a bit more). But for now, I can finally dream about our house again and start planning projects. I have lots of low-cost/high-impact projects to share with you!

So for the month of January, I will be posting updated pictures of our "new" 1930s home. We moved in over a year ago, but I've barely posted anything about it. So without further ado, here are before and during/after pics of our sweet little cottage, "Pioneer Heights":

The Living Room

So far we have done only $45 worth of updates to this central space. But it has made a big difference and the room feels more like "us" now. Here are the projects broken down:


Before - Focal Wall
The view below is coming in from the entry way and looking at our long, narrow living room. To soften the feel of this elongated room, I decided to make the blue wall a major focal point - something to grab you upon entering. I also wanted a more neutral tone-on-tone look, so the blue had to go.
Before - Blue focal wall on the far side of out long narrow living room (coming in from the entry way)
I found a perfect shade of brown paint- it was a $5 can of mistint paint at the local hardware store. (Tip #1: The mistint shelf is always a great place to start when looking for a paint color!) Then I hung framed pictures that we already had to add a big impact to our focal wall. (Tip #2: Lay out your arrangement on the floor under the wall you are hanging them on first - to figure out spacing and balance before you hang them on the wall.)

After - Focal Wall

After - We painted the focal wall brown & added tons of family & architectural pictures.
 Total Cost of Focal Wall: $5

Before - Fireplace Wall
The knotty pine paneling and scalloped trim are original to the house, but too dark and dated for us. (Tip #3: Don't let original wood be too precious to you. It can be extremely limiting to decorate around. Trim or paneling that is well-painted can freshen a space up and keep it from looking drab and outdated.)
Before - Fireplace wall - dated brick, screen, knotty pine and scalloped crown molding
We sanded & painted the paneling a soft taupe-gray - the same can of paint that was used on the adjacent walls and in the hallway. We chose a bright white paint for the trim and built-in shelves. We already had both cans of paint, so the only cost for this project was the heat-resistant black paint on the fireplace brick and tile.

After - Fireplace Wall
After - We painted the brick black, the paneling soft gray-taupe (like the other walls), & the trim crisp white.
Total Cost of Fireplace Wall: $35

After - Built In Shelf Redo
The pictures below are of our built in shelves. They were also 100% knotty pine. We painted the exterior a bright white and the interior back of the shelves "Emerald Isle" - another mistint color I found for $5. We still want to remove the scalloped detail at the top by cutting a simpler arch instead.
After - We painted the interior with "Emerald Isle" mistint paint for a bit of color.
I love the bluish-green hit of color inside the shelves. It still reads as a neutral, so it doesn't necessarily pin me down to any one color scheme for future seasons. Plus if I change my mind, its a simple project to change out. Here's a close up:

Yes, I still have a few Christmas decorations up. Don't judge. I hate saying goodbye to Christmas decor right away. I'm hoping it can count as "winter decor" until the end of January!

Total Cost of Shelf Redo: $5

We have more we'd like to do in the Living Room! Here's our TO DO list as it stands now:
  • Remove scalloped trim and scalloped valances over windows $0
  • Sand, prime & paint knotty pine wall and shelves $5
  • Remove scalloped detail at top of shelves by cutting simple arches instead
  • Update fireplace (paint brick, tile, trim & remove screen) $35
  • Paint or cover focal wall $5
  • Hang pictures $0
  • Remove carpeting
  • Refinish wood floors
  • Add a larger, distressed DIY mantel over the existing one
  • Add overhead lighting - ceiling drum fixture like this one below maybe?

We already have a spot wired for it in our ceiling and switches too!

So there is our Living Room "Before and After" pictures - although we are really still in the "During" stage right now. I'll keep you posted as we progress.

Stay tuned for more of our Upstairs on the next post!