This year we combined our two daughters birthday parties in to one big party. A Disney "Frozen" theme was perfect for the occasion, since the party took place in the winter AND we were celebrating two sisters.
{THE COSTUMES}
Ironically the sisters in Frozen have very similar personalities to our two girls. So they dressed up accordingly. Our oldest, responsible, protective daughter dressed as Elsa. We found an unrelated "Dragon Princess" costume at Walmart on sale after Halloween for 90% off! For just a few dollars (and some white tulle around the waist do cover up a dragon) we had a great Elsa costume!
... and our youngest, spunky, funny daughter dressed as Anna. She had a Christmas dress that looked a lot like Anna's coronation dress from the movie. To make it a little more special, we swept her hair back and added pretty green ribbon - just like the princess!
{FROZEN/ELSA DECOR}
We decorated the mantel with their Frozen dolls, icy blue and white balloons and some of my wintery Christmas mantel decor. I made several of the large 3-D snowflakes (like the one on the mirror here) and hung them from the ceiling at different heights. You can find a good tutorial for making these large snowflakes
here.
I made a Frozen Chandelier out of white tissue "poofs", balloons, snowflake ribbon (I already had) and a big Dollar Store snow flake.
Here's a different shot of the "icy" chandelier...
{THE FOOD}
The table was filled with lots of Frozen treats: snowflake cupcakes, "icicles" (pretzels dipped in white chocolate with blue sprinkles) and Olaf cheese sticks.
I used as much crystal and silver as possible, including these matching mint julep cups, lined with parchment paper cut into snow flakes. I used a piece of light blue fabric I had for the runner and various Dollar Store snow flakes on the table top.
My oldest blew out candles on her snowflake cupcakes.
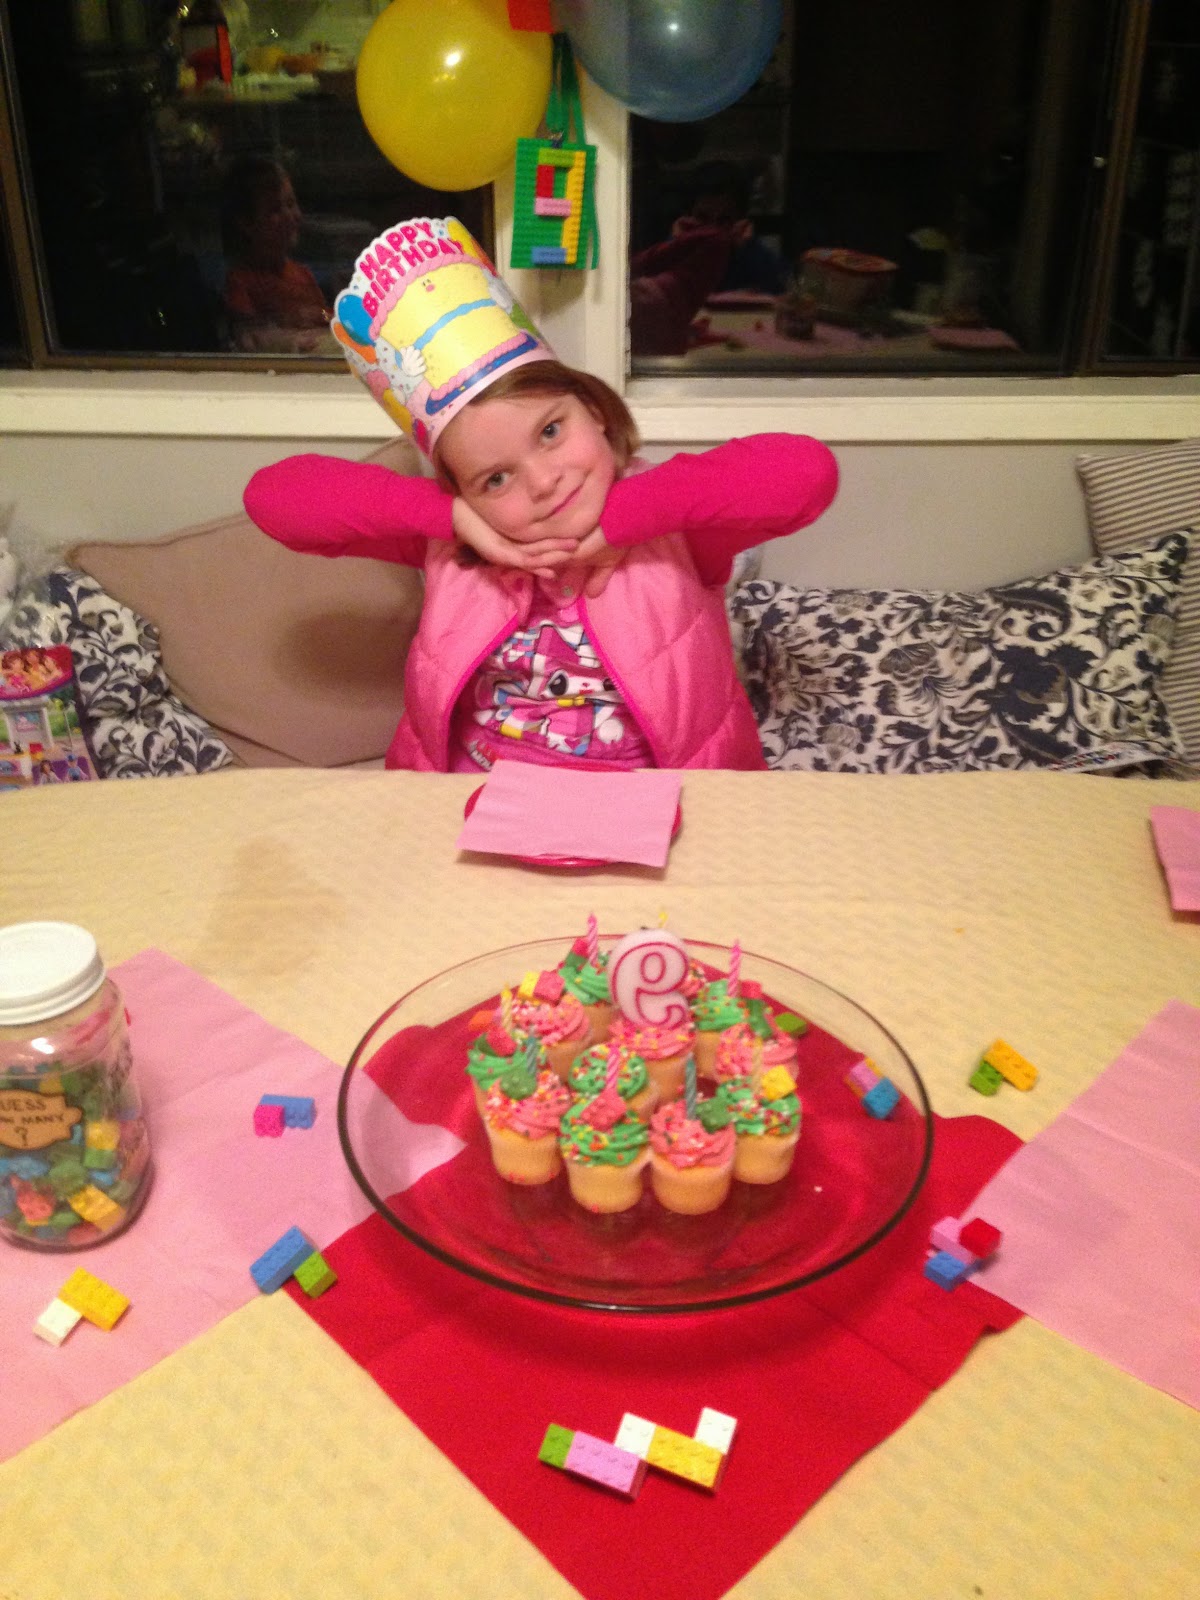
While my youngest daughter blew out candles on "Arendelle" inspired cupcakes. (There's a good shot of her Princess Anna hairdo!)
{ARENDELLE/ANNA DECOR}
I also decorated our kitchen eating nook in the Frozen kingdom of Arendelle's colors: green purple and pink. I bought an official Frozen table cloth for a few dollars and then matched the balloons, crepe paper & tissue paper poof to its colors.
Although I didn't use these darling banners below, I just found these and had to recommend them! If you're looking for more Frozen Arendelle decor click
here for these cute banners.
We played a few games, like this one below called
"Do You Want To Build a Snowman?" Supplies used: toilet paper, and construction paper cut into coal buttons and a carrot nose.
The girls' party guests split into 2 teams and had to make the birthday girls look like snowmen by the end of the song by the same name.
So cute! We also played "Pin the Nose on Olaf" (thank you Pinterest!). The girls were blindfolded, spun around a few times and then tried to pin paper carrot noses on an Olaf. Whoever was closest won a Frozen Play Pack with crayons, stickers and a little coloring book.
The Olaf cut out was made from poster board, outlined in sharpie & craft paper for the arms, coal buttons and each girl's carrot nose.
We also played "Scoop the Snowballs", a common cotton ball game played at showers. (Each player takes turns getting blind folded and has 30 second to scoop as many cotton balls from one bowl to another, using a large mixing spoon.) Then it was present time!
One last touch: our Frozen themed tree! Since this party was in early December, I partially decorated our tree - using only our snowflakes, icicles and other snowy white & silver ornaments we had. I topped the tree off with another Dollar Store large snowflake. It was a fun and easy touch for our wintery Frozen backdrop. After the party was over, I finished decorating our tree for Christmas.
We had such fun at this party and didn't spend much at all for a wonderful time! Hope this helps inspire your next Frozen Party!


